Sync Files and Folders with Github Pages
,
Uploading files and folders to github repo was hard. Now, with this method you can sync files and folders to a github repository efficiently. In this tutorial I’m uploading a complete website into Github Pages.
In my initial days of using Github, I used to see repositories filled with folders, files and what not. I used to wonder how the hell these people are uploading folders to Github!
Update
Github has a new drag and drop upload option available for direct uploading of files and folders. But, the method I'm discussing in this post is also required to make changes and puch only the changes.
- Step 1: Create a repository and make a gh-pages branch
- Step 2: Install Github Desktop
- Step 3: Set up Github account in Github Desktop
- Step 4: Clone the repository you just created
- Step 5: Copy complete website in local repository
- Step 6: Sync to github!
- Step 7: Your website must be hosted on Github Pages now.
It is only after some tutorials I realized that it is indeed very easy. The day I found out how to upload folders was one of the happiest days because I knew one thing for sure, uploading files = uploading a complete website ![]()
That is exactly what I’m going to do here. This one is going to be a lengthy post, so grab a cup of coffee ![]() !
!
I’m going to create this website (or at least host it) - Hyperspace
Download these things before we start
-
Link 1: Github Desktop
Step 1: Create a repository and make a gh-pages branch
Login to your Github account and create a repository. Name it anything you feel like. I’m calling it MyFirstWebsite. Commit once you are done naming it. Now create a gh-pages branch in your repository.
Refer to How to create and host a website if you are not sure how to create a branch.
Remember - project files can only be hosted using gh-pages branch.
Step 2: Install Github Desktop
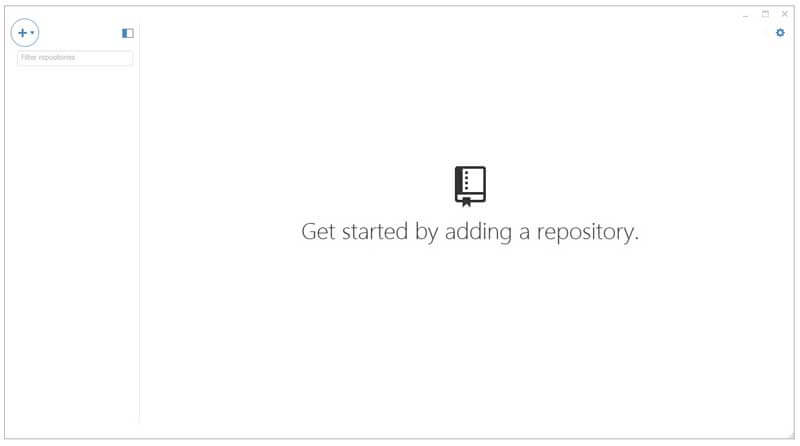
I guess you are smart enough to install a software. Once you are done installing, open the app. You should see something like this.
Step 3: Set up Github account in Github Desktop
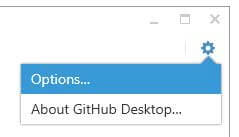
Click on the gear icon on the top-right corner and hit Options…. Now you should see an option with name Accounts. Click on Add account.
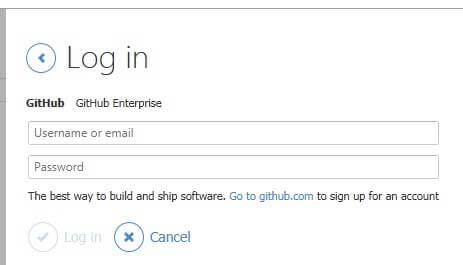
Enter your Github credentials and hit Login (choose Github Enterprise if you have an Enterprise account).
Step 4: Clone the repository you just created
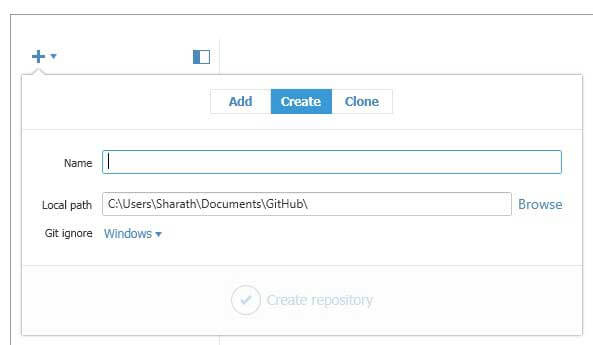
Click on the + icon on the left-top corner of Github Desktop. You should see these options.
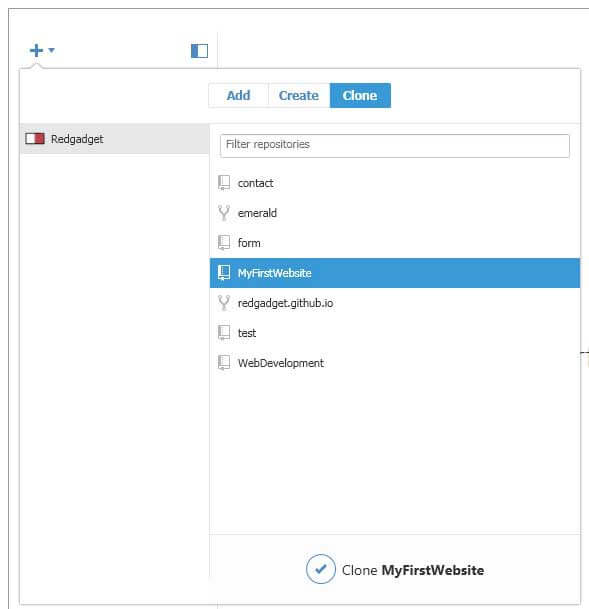
Click on clone. Github should list all your repository available for cloning. Select the repository you just created. In my case - MyFirstWebsite. Then hit the check-mark below which says Clone MyFirstWebsite
You may have to choose a local folder where you want the repository to be downloaded. I usually choose Documents folder. Select a folder, click on Ok and wait for the app to sync your repository.
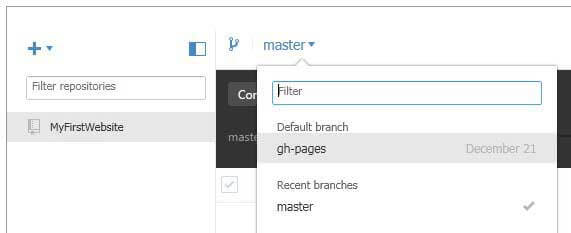
Now change the branch to gh-pages as shown in the screenshot. Now right click on the repository listed on the left side and choose Open in Explorer. It will open an Explorer window with just a .git folder inside it.
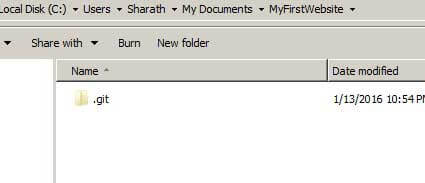
Remember: Whatever changes you do inside this folder will be reflected in the app.
Step 5: Copy complete website in local repository
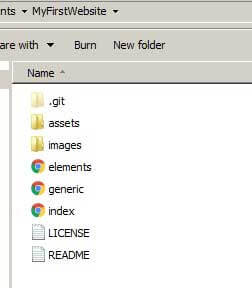
If you have downloaded the file from Link 1 then open it and extract the contents to a folder. Copy all these files and folders into our locally synced repository.
Step 6: Sync to github!
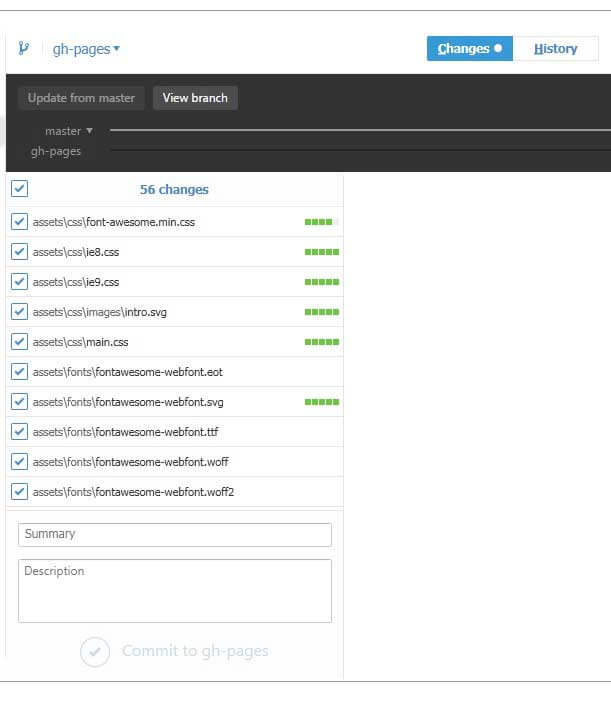
Come back to the Github Desktop app and click on Changes tab. You should see all the changes you just did, all the files and folders you added etc.,
Once you are satisfied looking at it, hit commit and wait for the app to sync it with remote (but your) Github repository.
Step 7: Your website must be hosted on Github Pages now.
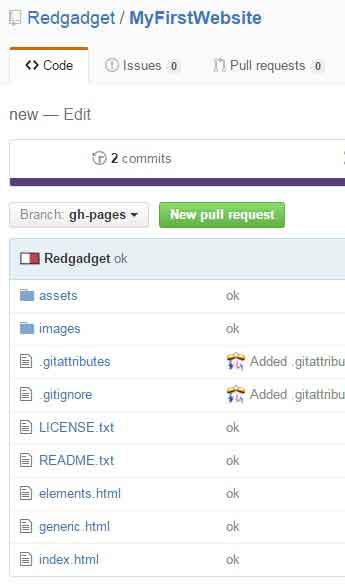
Now, login to your Github account to see whether your website has been hosted. Navigate to your repository that you just synced.
Change the branch to gh-pages and see if the files you synced are present in that branch.
Now click on settings and look for Github Pages section where you will see a green check mark with an ugly looking URL next to it. Hit that URL. You should see your website hosted!
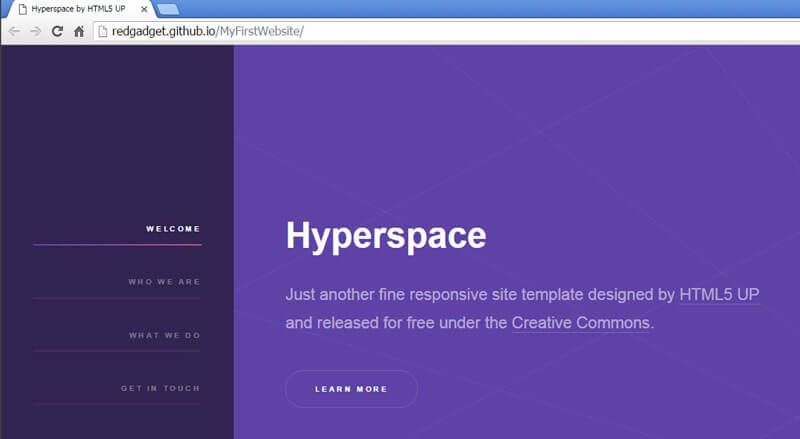
Here is the final URL: MyFirstWebsite and a video demonstration.
Change the URL to something not ugly?
Read: How to add custom domain to websites hosted on Github Pages.
If you are stuck in any of these steps, please leave a comment. I’ll try to help. Thanks for reading! For more detailed tutorials like this one, subscribe.