Integrate Polymer in Jekyll Blog
,
Integrating Polymer in Jekyll is very simple. Polymer elements are the future of web design. I have a tutorial to include Polymer elements in Jekyll blog with simple steps. Polymer is an ambitious project by Google which might take off a lot of burden on web designers and developers.
Why Polymer?
Polymer cards are getting used in every single application Google is developing. It is in a way very convenient to use one custom element and call it as many times you want to. It saves a lot of time for developer and designer and also the page loads fast.
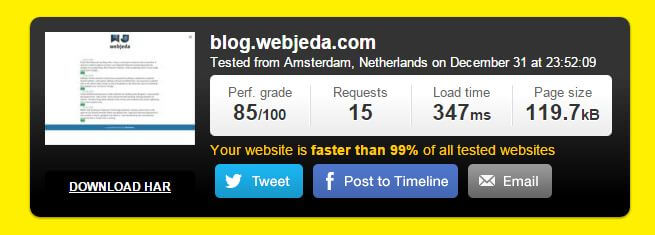
Faster than 99% of all websites checked on Pingdom tools!
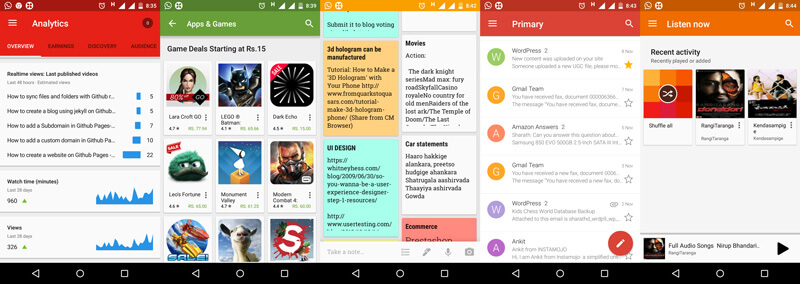
If you observe the applications by Google, almost all of them are using paper-cards.

Above screenshot shows few applications using card interface. Youtube (I know, it is a new channel), Playstore, Google Keep, Gmail and even Play music is using card interface.
I wanted something similar. I did it only using CDN. Usually, you have to include Polymer elements in the project if you want to use those elements extensively. But I was using just three elements - paper-card, paper-ripple, and paper-button.
This is how the default cards will look like.
You can customize the cards as you like. Add an image, description or a button. Polymer Ripple effect is also cool!
How did I do it?
First thing is to import the Polymer elements. Paste these lines to your head tag.
<link rel="import" href="https://cdn.rawgit.com/download/polymer-cdn/1.1.4/lib/paper-card/paper-card.html"/>
<link rel="import" href="https://cdn.rawgit.com/download/polymer-cdn/1.1.4/lib/paper-button/paper-button.html"/>
Warning
This method is not recomended. I'm using this as an example. For greater response time you should be using a local copy of these files rather importing from an URL. Remember, importing more files lead to a slow loading website
And that’s about it. If you want some other element, say paper-toggle-button
then just replace the paper-card with paper-toggle-button which would be,
<link rel="import" href="https://cdn.rawgit.com/download/polymer-cdn/1.1.4/lib/paper-toggle-button/paper-toggle-button.html" />Now you can call the elements inside the body tag and they will be downloaded.
<paper-button>Click Me</paper-button>So what about my jekyll blog index page?
 <paper-card heading="{{post.title}}">
 <time datetime="post.date | date_to_xmlschema">{{post.date | date_to_string}}</time>
 <div class="card-content">{{post.content | strip_html | truncatewords:50}}</div>
 <div class="card-actions">
 <a href="{% if site.baseurl == "/" %}{{ post.url }}{% else %}{{ post.url | prepend: site.baseurl }}{% endif %}">
 <paper-button class="colored" raised>Read</paper-button></a>
 </div>
 </paper-card>
Copy these lines to your index.html page without deleting the default code. If you like it then delete the default code and keep the polymer one.
I’m not using polymer cards for my blog index by the way. I have designed it on my own.
How did I include colored paper button?
Color to Polymer buttons
Here is the css code for coloring the paper-button.
 paper-button.colored {
     background-color:#26A65B;
     color: #fff;
     text-transform: none;
     font-weight: 100;
     }
Note
Eventually I had to take it out as it started throwing JS errors. I chose w3-css for making cards. They look pretty much like polymer cards!
Let me know if you were successful in integrating Polymer in your website. Comment if you do something awesome. Thanks for reading!
